What makes a sugar cookie truly special? It’s the decorating, of course. This easy and fun homemade treat features a simple powdered sugar icing, decorated with adorable Christmas trees and colorful sprinkles, perfect for a family favorite holiday tradition. Save this idea for your next baking session and make it a quick treat to enjoy with loved ones. Try it soon and make this Christmas season one to remember. Pin for later and get ready to impress your friends and family.
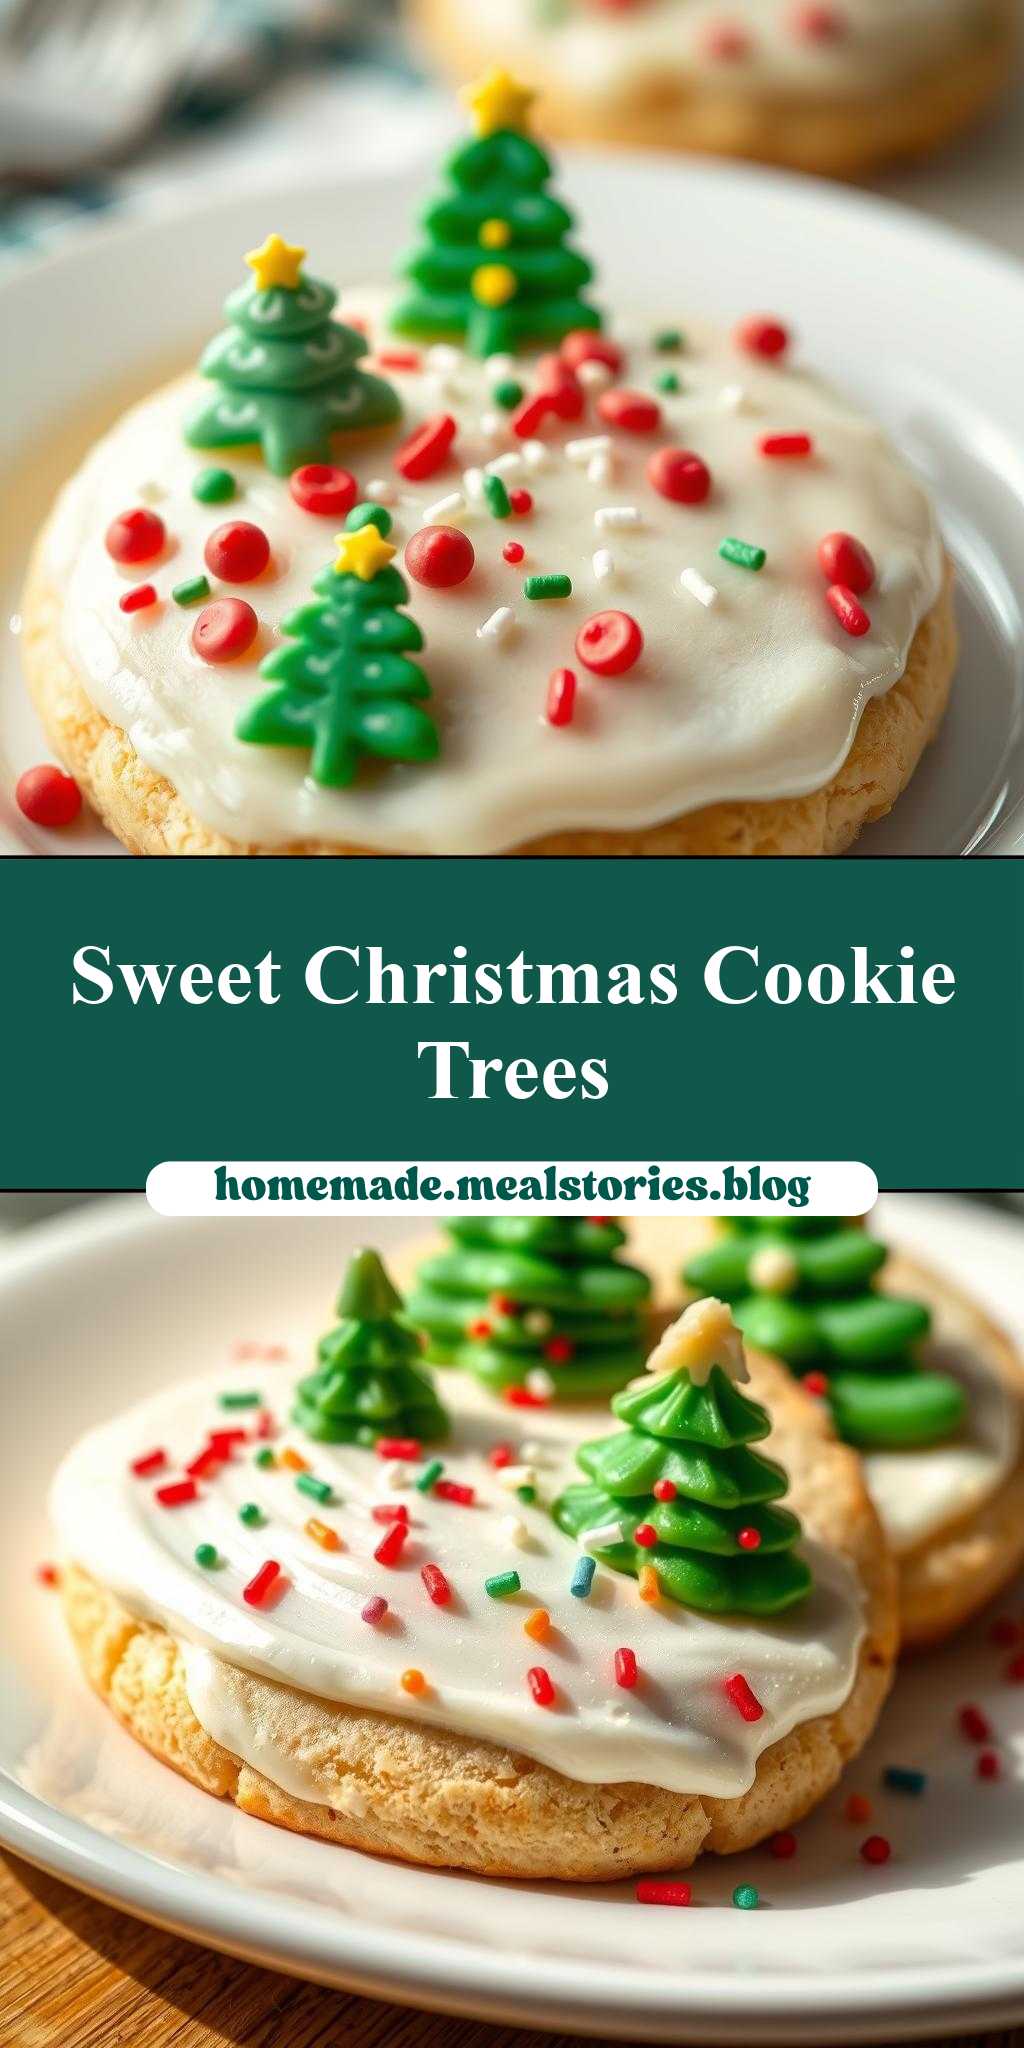
Sugar Cookie Icing Decorated with Christmas Trees and Sprinkles
Introduction
Baking and decorating sugar cookies is a beloved tradition during the holiday season, and with this simple recipe for sugar cookie icing decorated with Christmas trees and sprinkles, you can create a festive and delicious treat that’s perfect for gift-giving, holiday parties, or just enjoying with family and friends. The best part? This recipe is incredibly easy to make and requires just a few everyday ingredients, making it accessible to bakers of all skill levels. The combination of sweet sugar cookies, creamy icing, and colorful sprinkles is a match made in heaven, and the addition of intricately designed Christmas trees takes these cookies to the next level of festive fun.
Why This Works
- The flavor balance in this recipe is spot on, with the sweetness of the cookies and icing perfectly complemented by the crunch of the sprinkles and the delicate flavor of the Christmas tree decorations.
- One of the best things about this recipe is how easy it is to prepare. With just a few simple ingredients and some basic baking and decorating skills, you can create a batch of beautifully decorated sugar cookies that are sure to impress.
- Despite the impressive results, this recipe requires minimal effort, making it perfect for busy holiday seasons when time is of the essence. Simply bake the cookies, whip up the icing, and get creative with your decorations – it’s that easy!
Key Ingredients
The key ingredients in this recipe include sugar cookies (which can be homemade or store-bought), powdered sugar, milk or cream, and food coloring. For the Christmas tree decorations, you’ll need some green icing or frosting, as well as small sprinkles or nonpareils in various colors. If you want to get really creative, you can also use edible glitter, beads, or other decorations to add some extra sparkle to your cookies. Practical substitutions for these ingredients include using almond milk or soy milk instead of regular milk, and using natural food coloring like beet juice or turmeric to dye your icing.
Instructions
- Step 1: Begin by baking and cooling your sugar cookies. If you’re using a mix, follow the instructions on the package to bake the cookies to the perfect golden brown. If you’re making your cookies from scratch, be sure to chill the dough for at least 30 minutes before baking to ensure that the cookies retain their shape.
- Step 2: Once your cookies are cool, it’s time to make the icing. In a large bowl, whisk together powdered sugar, milk or cream, and a pinch of salt until smooth and creamy. Add a few drops of food coloring to tint the icing, if desired.
- Step 3: Now it’s time to decorate your cookies. Use a piping bag or a zip-top plastic bag with a corner cut off to pipe the icing onto the cookies in the shape of Christmas trees. You can also use a knife or offset spatula to spread the icing onto the cookies and create a more rustic, textured look.
- Step 4: Finally, add some sprinkles or nonpareils to your cookies to create a festive and fun design. You can use a single color or mix and match different colors to create a unique and eye-catching look. If you’re feeling extra creative, you can also use edible markers or pens to draw on additional details, like tree trunks or star decorations.
Handy Tips
- One of the most important things to keep in mind when making this recipe is to not overmix the icing. Overmixing can cause the icing to become too stiff and difficult to pipe, so be sure to stop whisking as soon as the ingredients are combined.
- Another helpful tip is to use a turntable or rotating cake stand to display your cookies. This will make it easy to access all sides of the cookies and add decorations without having to reach over or stretch.
- Finally, be sure to have fun and be creative with your decorations! This recipe is all about experimenting with different colors, designs, and techniques, so don’t be afraid to try new things and make mistakes.
Heat Control
Since this recipe involves baking sugar cookies, it’s essential to have good heat control in the oven. The ideal temperature for baking sugar cookies is between 350°F and 375°F, depending on the size and thickness of the cookies. Be sure to check the cookies frequently during the baking time, as they can go from perfectly cooked to burnt in just a few minutes. Signs of doneness include a light golden brown color and a firm texture that’s not too soft or too hard.
Crunch Factor
The crunch factor in this recipe comes from the sprinkles and nonpareils used to decorate the cookies. To achieve the perfect crunch, be sure to use high-quality sprinkles that are fresh and not stale. You can also experiment with different types of sprinkles, like sanding sugar or edible glitter, to create a unique texture and appearance.
Pro Kitchen Tricks
- One expert tip for making this recipe is to use a cookie scoop or portion control tool to portion out the cookie dough. This will ensure that all the cookies are the same size and bake evenly.
- Another pro trick is to use a parchment paper or silicone mat to line the baking sheet. This will prevent the cookies from spreading too much and make cleanup a breeze.
- Finally, be sure to invest in a good-quality piping bag and tips. This will make it easy to pipe intricate designs and borders onto the cookies, and will also help to prevent the icing from coming out too thick or too thin.
Storage Tips
- To store your decorated cookies, be sure to place them in an airtight container, like a glass jar or plastic container, to keep them fresh. You can also freeze the cookies for up to 2 months and thaw them at room temperature when you’re ready to serve.
- When reheating the cookies, be sure to do so at room temperature or in the microwave for just a few seconds. This will help to prevent the icing from melting or becoming too soft.
- Finally, be sure to label and date the container, so you know how long the cookies have been stored and can ensure that they’re still fresh and safe to eat.
Gift Packaging Ideas
If you’re planning to give your decorated cookies as gifts, there are many creative ways to package them. One idea is to place the cookies in a decorative tin or jar, like a Christmas-themed cookie jar or a vintage-style tin. You can also wrap the cookies individually in plastic wrap or cellophane bags and tie them with a ribbon or twine. Another idea is to create a cookie gift basket, filled with a variety of decorated cookies, as well as other sweet treats like fudge, candy, or chocolate.
Flavor Variations
- One way to mix up the flavor of this recipe is to add different spices or extracts to the icing. For example, you could add a pinch of cinnamon or nutmeg to give the icing a warm, spicy flavor, or a few drops of peppermint extract to give it a cool, refreshing taste.
- Another idea is to use different types of sprinkles or nonpareils to create a unique and colorful design. For example, you could use red and green sprinkles to create a festive holiday look, or pastel-colored sprinkles to create a soft, spring-inspired design.
- Finally, you could also experiment with different types of cookies, like snickerdoodles or gingerbread cookies, to create a unique and delicious flavor combination.
Troubleshooting
- One common problem that can occur when making this recipe is that the icing becomes too thick or too thin. To fix this, you can add a small amount of milk or cream to thin out the icing, or a small amount of powdered sugar to thicken it.
- Another issue that can arise is that the cookies become too soft or too hard. To prevent this, be sure to bake the cookies for the right amount of time, and to store them in an airtight container to keep them fresh.
- Finally, if you find that your decorations are not sticking to the cookies, you can try using a small amount of corn syrup or honey to help them adhere. You can also try using a different type of icing or frosting, like royal icing or buttercream, to create a stronger bond between the decorations and the cookies.
FAQs
- Can I freeze the cookies? Yes, you can freeze the cookies for up to 2 months. Simply place them in an airtight container or freezer bag and store them in the freezer. When you’re ready to serve, thaw the cookies at room temperature or in the microwave for a few seconds.
- Is this recipe gluten-free? No, this recipe is not gluten-free, as it contains wheat flour. However, you can easily make a gluten-free version by substituting the wheat flour with a gluten-free flour blend.
- Can I double the recipe? Yes, you can double the recipe to make a larger batch of cookies. Simply multiply all the ingredients by two and follow the same instructions as before.
Conclusion
In conclusion, this recipe for sugar cookie icing decorated with Christmas trees and sprinkles is a fun and easy way to get into the holiday spirit. With its simple ingredients, easy instructions, and creative decorating ideas, this recipe is perfect for bakers of all skill levels. Whether you’re a seasoned pro or a beginner, you’ll love the way these cookies turn out, and you’ll have a blast making them. So why not give it a try and see what kind of festive creations you can come up with? Happy baking!
Sugar Cookie Icing Decorated with Christmas Trees and Sprinkles
A delicious and festive holiday treat made with sugar cookies, creamy icing, and colorful sprinkles, decorated with intricate Christmas tree designs.
🥘 Ingredients
👩🍳 Instructions
-
1Bake and cool the sugar cookies.
-
2Make the icing by whisking together powdered sugar, milk, and vanilla extract.
-
3Decorate the cookies with the icing and sprinkles, using a piping bag or a knife to create intricate Christmas tree designs.
-
4Add final touches, such as edible glitter or beads, to make the cookies extra special.