What’s the ultimate dessert stack for a sweet tooth. Rich chocolate and caramel come together in these easy ooey gooey bars made with a shortbread crust and perfect for a family favorite treat. Save this idea
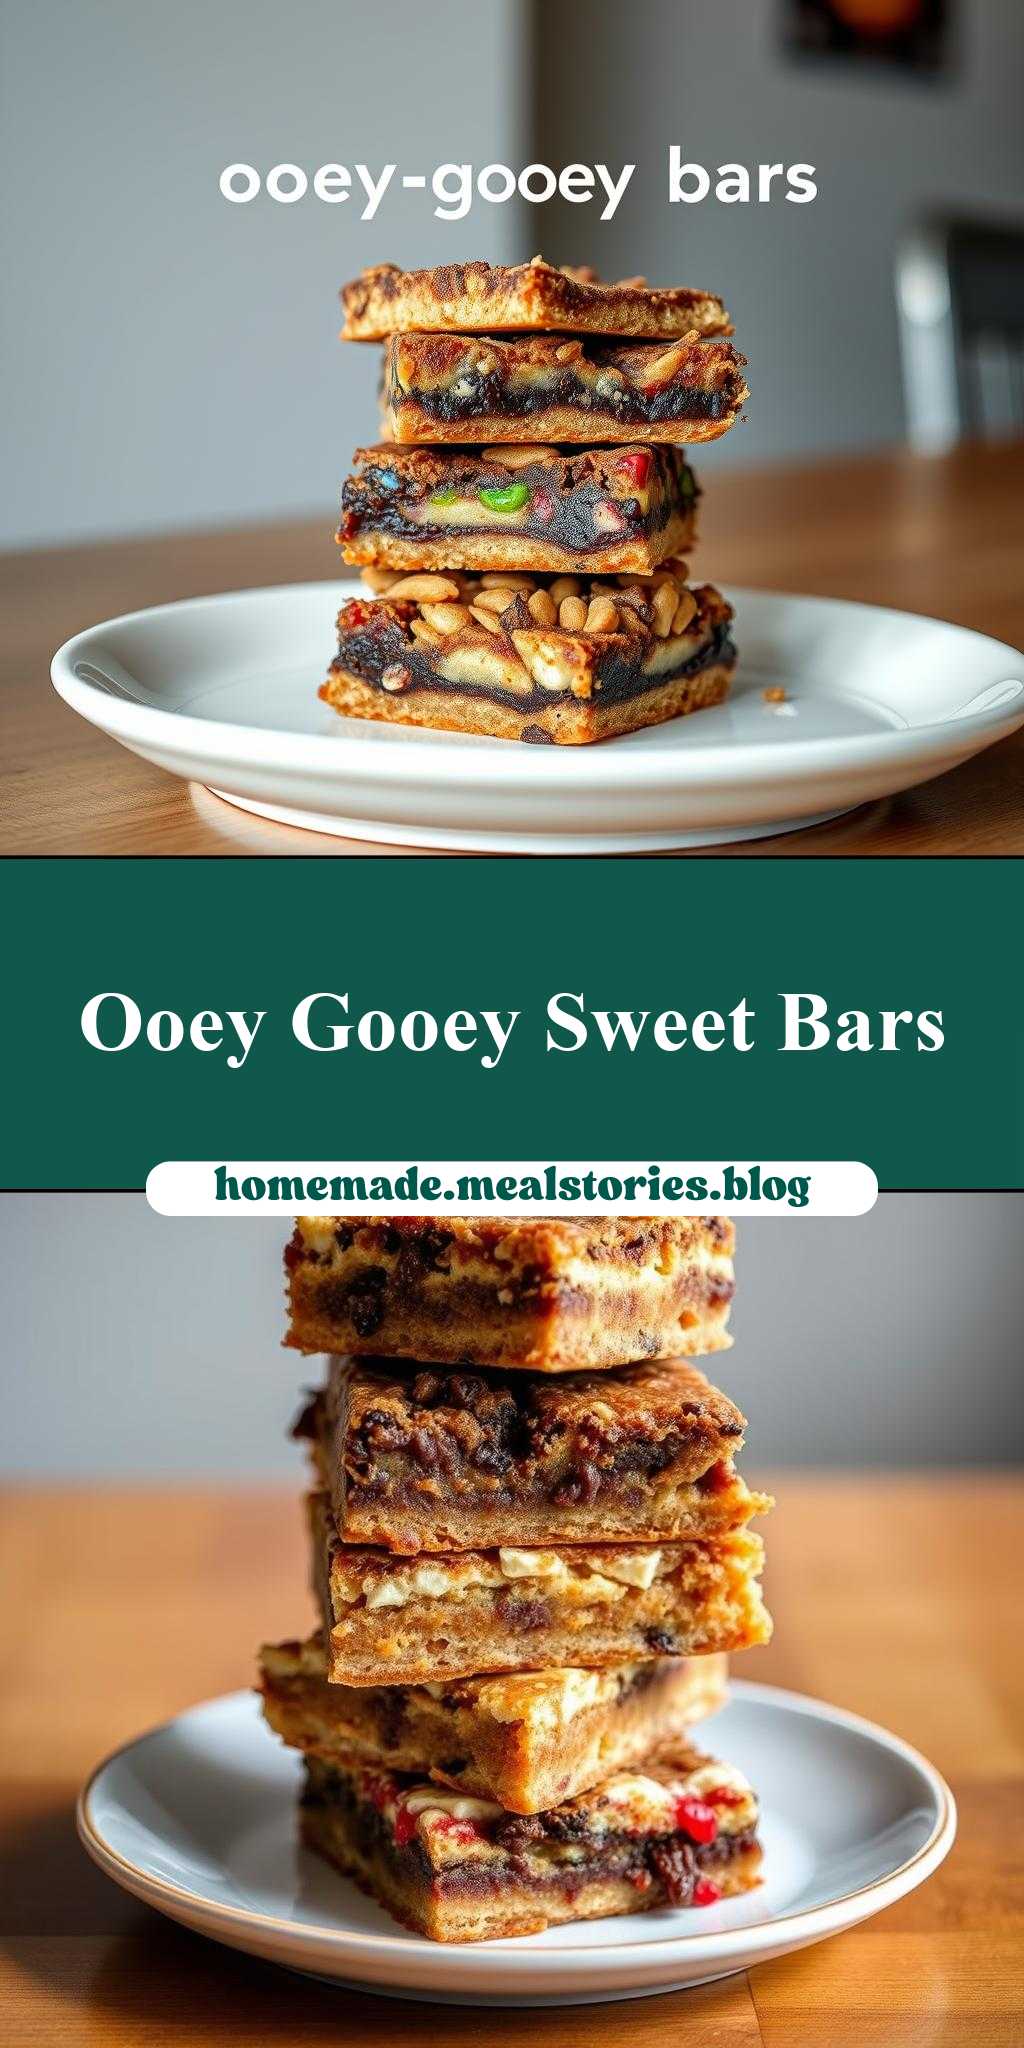
several different types of desserts stacked on top of each other with the words ooey gooey bars above them
Introduction
Imagine a dessert that is not just one treat, but several different types of desserts stacked on top of each other, all combined under the irresistible title of “ooey gooey bars.” This creative masterpiece is all about ease, flavor, and creativity, using everyday ingredients to create something truly special. With its layers of textures and tastes, it’s a dessert that will impress anyone, from family gatherings to special occasions. The best part? It’s surprisingly easy to make, requiring minimal effort for maximum impact. In this article, we’ll dive into the world of ooey gooey bars, exploring why they work so well, the key ingredients you’ll need, and a step-by-step guide to creating your own towering dessert masterpiece.
Why This Works
- Flavor balance and ingredient accessibility: The combination of different desserts stacked together creates a perfect balance of flavors, from sweet and tangy to rich and creamy. Moreover, the ingredients are easily accessible, making it a practical choice for any baker.
- Ease of preparation: Despite its impressive appearance, ooey gooey bars are relatively easy to prepare. Each component can be made separately and then stacked, allowing for a flexible and stress-free baking experience.
- Impressive results with minimal effort: The layered effect of ooey gooey bars makes them a showstopper, perfect for impressing guests without requiring hours of intricate decorating or complicated baking techniques.
Key Ingredients
To create your ooey gooey bars, you’ll need a variety of ingredients depending on the desserts you choose to stack. Common components include a base layer (such as a cookie or cake), a middle layer (perhaps a cheesecake or pudding), and a top layer (which could be anything from a fruit compote to a mousse). Practical substitutions can be made based on dietary restrictions or personal preferences, such as using gluten-free flours, vegan alternatives to dairy, or sugar substitutes. The versatility of ooey gooey bars is part of their charm, allowing you to experiment with different flavors and textures to create a unique dessert every time.
Instructions
- Step 1: Begin with preparation. This includes chopping any nuts or fruits, measuring out your ingredients, and preheating your oven if necessary. The key to a successful ooey gooey bar is in the preparation, as each layer needs to be ready to go before you start stacking.
- Step 2: Cook or mix your base ingredients. If you’re using a baked good as your base, now is the time to mix and bake it according to your recipe. If your base is no-bake, you’ll mix it together and set it aside to chill.
- Step 3: Layer your flavors or textures. This is where the magic happens. Start with your base layer, followed by your middle layer, and finish with your top layer. The order can vary based on the desserts you’re using and the effect you want to achieve.
- Step 4: Final touches and plating. Once your ooey gooey bars are stacked, you can add any final decorations. This might include drizzling with chocolate, sprinkling with powdered sugar, or adding fresh fruits. The presentation is crucial, as it’s the first thing your guests will see.
Handy Tips
- Always chill your layers before stacking to ensure they hold their shape and don’t become too messy. A chilled layer is easier to work with and will give you a cleaner finish.
- Consider the texture and flavor balance when choosing your desserts. A mix of smooth and crunchy, sweet and tangy, will create a more interesting experience.
- Don’t overdo it with too many layers. While the idea of ooey gooey bars is to stack multiple desserts, too many can make it difficult to serve and enjoy. Stick to 2-3 main layers for the best results.
Heat Control
If any of your layers require baking, heat control is crucial. Ensure your oven is at the correct temperature, and use the baking times provided in your recipe as a guide. It’s also important to check for doneness signs, such as a toothpick coming out clean or the top being lightly golden. Remember, some desserts may require cooling completely before they can be stacked, so plan your time accordingly.
Crunch Factor
The crunch factor in ooey gooey bars can come from various sources, such as nuts, cookie bases, or even toasted coconut flakes. To achieve the perfect crunch, make sure any baked components are cooled completely before stacking, and consider adding your crunchy elements just before serving to preserve their texture. For a tender dessert, focus on using moist ingredients and avoiding overbaking.
Pro Kitchen Tricks
- Use a turntable to display your ooey gooey bars, making it easier for guests to serve themselves and admire your creation from all sides.
- Prepare your layers in advance and store them appropriately until you’re ready to stack and serve. This can save time and reduce stress.
- Experiment with different shapes and sizes of desserts to create a visually appealing stack. Consider using a variety of molds or cutting your desserts into unique shapes before stacking.
Storage Tips
- Store each layer separately in airtight containers until you’re ready to assemble your ooey gooey bars. This will keep them fresh and prevent them from becoming soggy or stale.
- Once assembled, ooey gooey bars can be stored in the refrigerator for up to 24 hours. Allow them to come to room temperature before serving for the best flavor and texture.
- For longer storage, consider freezing individual layers and thawing them as needed. However, not all desserts freeze well, so this should be done with caution and based on the specific ingredients used.
Gift Packaging Ideas
Ooey gooey bars make a wonderful gift, especially for those with a sweet tooth. Consider packaging them in decorative jars or boxes, wrapped in ribbon or twine for a personalized touch. If you’re gifting individual servings, small Mason jars or cardboard cups can be used, topped with a layer of plastic wrap or a cupcake liner for a clean finish. Don’t forget to include a card with serving instructions and any relevant allergen warnings.
Flavor Variations
- Different spices: Add a pinch of cinnamon, nutmeg, or cardamom to your desserts for a unique twist on traditional flavors.
- Creative toppings: Use fresh fruits, nuts, or even candy pieces to add texture and flavor to your ooey gooey bars.
- Ingredient swaps: Substitute different types of milk, flour, or sugar to create variations that cater to different dietary needs or preferences.
Troubleshooting
- Texture problems: If your desserts become too soggy or dry, adjust your baking times or the amount of liquid in your recipes accordingly.
- Ingredient replacements: If you’re missing an ingredient, look for substitutes that offer similar textures and flavors. Online recipes and baking communities can be great resources for finding alternatives.
- Over/undercooking signs: Keep an eye on your desserts while they’re baking, and use a toothpick or other testing methods to ensure they’re cooked to perfection.
FAQs
- Can I freeze it? Yes, many components of ooey gooey bars can be frozen, but it’s crucial to test the freezing and thawing process with small batches first to ensure the texture and flavor are preserved.
- Is it gluten-free? This depends on the ingredients used in your desserts. By choosing gluten-free flours and being mindful of cross-contamination, you can create a gluten-free version of ooey gooey bars.
- Can I double the recipe? Yes, you can double or even triple your recipe, but be sure to adjust your baking times accordingly and use larger pans or molds if necessary.
Conclusion
Creating ooey gooey bars is a fun and creative baking project that allows you to experiment with different flavors and textures. With their impressive results and relatively easy preparation, they’re perfect for any occasion. Don’t be afraid to get creative and make the recipe your own, whether that means trying out new ingredients, decorating techniques, or presentation ideas. Share your ooey gooey bar creations with friends and family, and enjoy the process of making something truly special and delicious. Happy baking!
several different types of desserts stacked on top of each other with the words ooey gooey bars above them
A stacked dessert made from several different types of desserts, perfect for special occasions or as a unique treat.
🥘 Ingredients
👩🍳 Instructions
-
1Preheat the oven to 350°F (180°C).
-
2Prepare the base layer according to your recipe and bake until lightly golden.
-
3Prepare the middle and top layers, following the specific instructions for each dessert.
-
4Stack the layers, starting with the base, then the middle, and finally the top. Chill before serving.