What’s the secret to a decadent dessert without any fuss? This no-bake Kinder cheesecake is a game changer, made with a creamy Kinder filling and a simple homemade crust, perfect for a quick and easy weeknight treat. Save this idea for a family favorite dessert to enjoy anytime.
No-Bake Kinder Cheesecake
Introduction
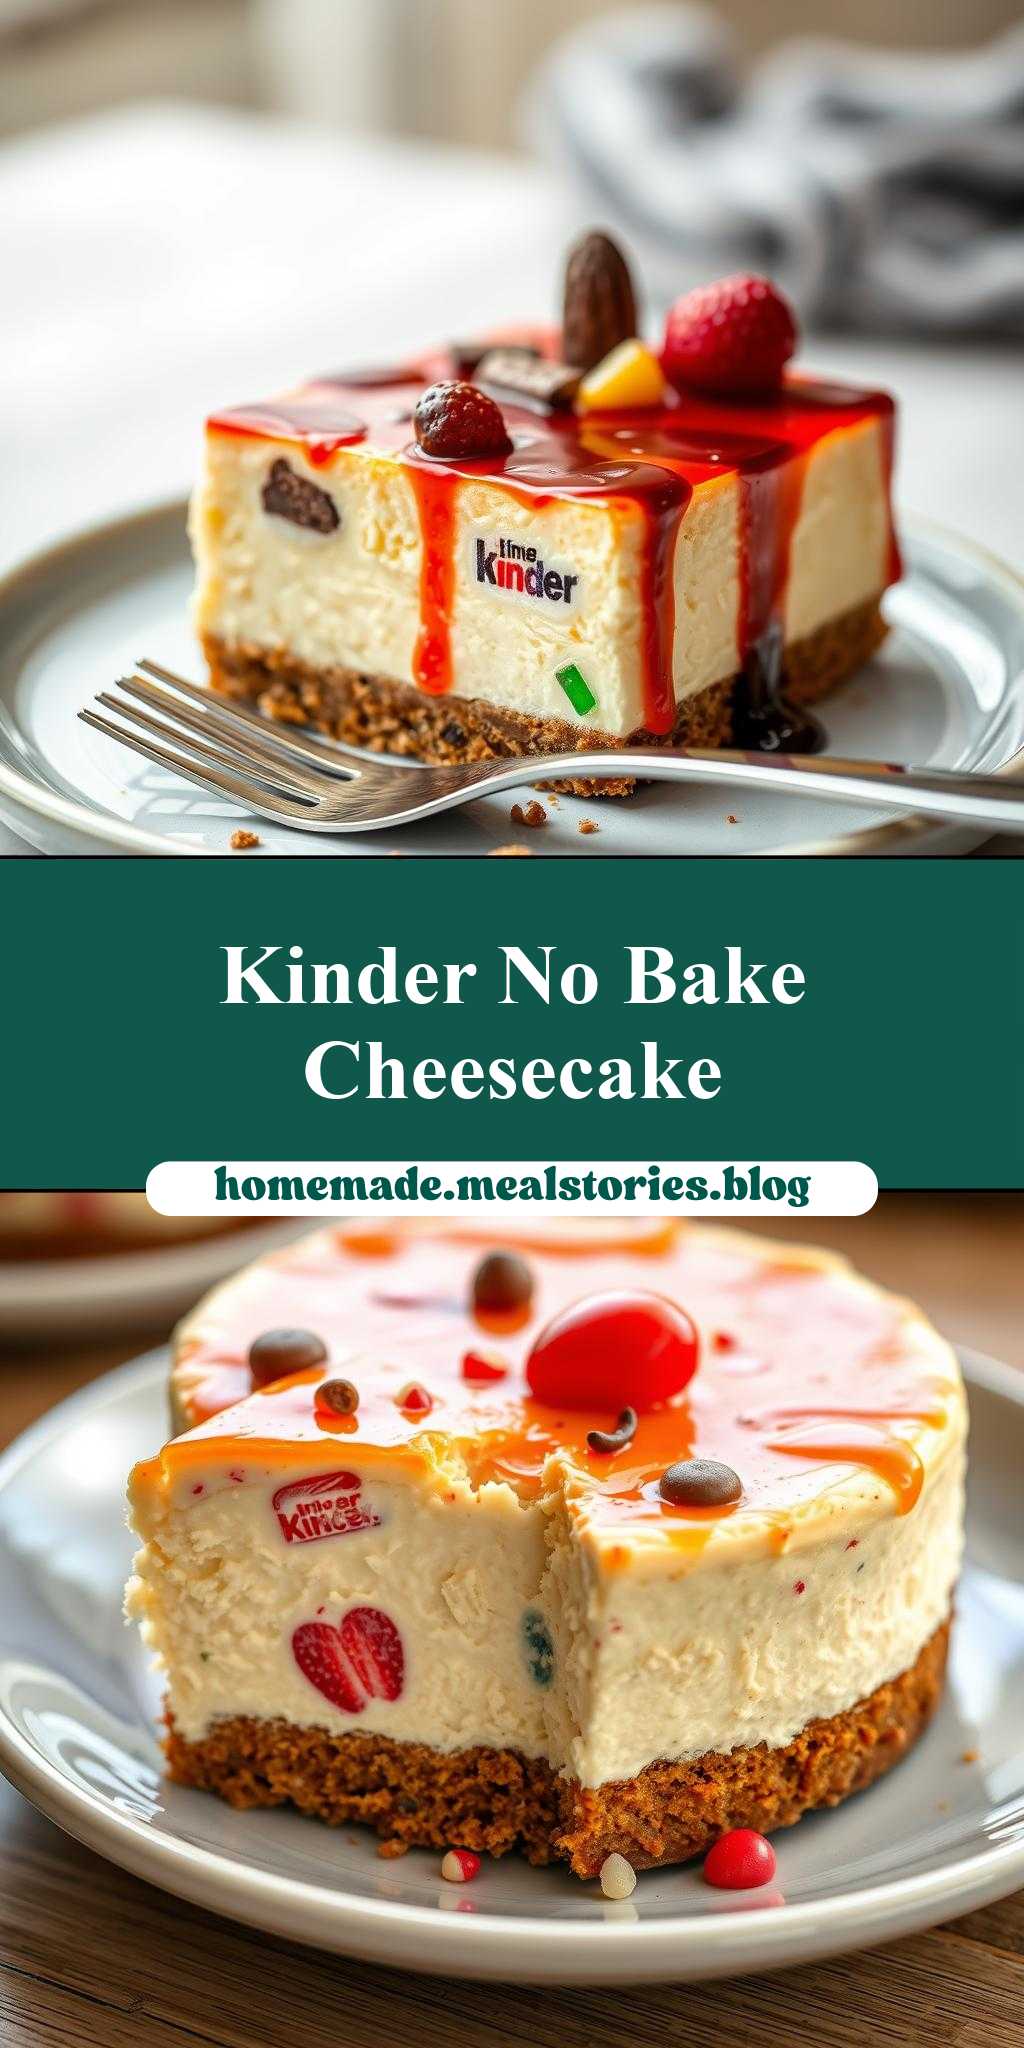
Imagine a dessert that combines the creamy richness of cheesecake with the playful, chocolatey charm of Kinder bars, all without needing to turn on your oven. The No-Bake Kinder Cheesecake is a game-changer for anyone looking for a unique, easy-to-make dessert that’s sure to impress both kids and adults alike. Using everyday ingredients and requiring minimal effort, this cheesecake is a masterpiece of flavor and creativity. With its no-bake simplicity, you can enjoy a decadent dessert any time of the year without the hassle of baking.
Why This Works
- Flavor balance and ingredient accessibility: The combination of Kinder bars, cream cheese, and whipped cream creates a perfectly balanced dessert that’s both familiar and exciting. The ingredients are easily found in most supermarkets, making this dessert accessible to everyone.
- Ease of preparation: The no-bake aspect of this cheesecake means you don’t have to worry about complicated baking instructions or the risk of your dessert not turning out right due to oven temperatures. It’s as simple as mixing, layering, and refrigerating.
- Impressive results with minimal effort: Despite its simplicity, the No-Bake Kinder Cheesecake looks and tastes like a professional dessert. The layers of cheesecake, whipped cream, and Kinder bar pieces create a visually appealing treat that’s sure to be the star of any gathering or meal.
Key Ingredients
The main ingredients in this recipe include a base made from crushed biscuits mixed with melted butter, a cheesecake filling made from cream cheese, sugar, and vanilla extract, whipped cream for topping, and Kinder bars for that signature chocolate-hazelnut flavor. For the biscuit base, you can use any plain biscuit, such as Digestives. If you prefer a gluten-free option, gluten-free biscuits are a great substitute. For the cheesecake filling, ensure you’re using full-fat cream cheese for the best flavor and texture. Kinder bars can be substituted with other chocolate-hazelnut bars if needed, but they provide a unique taste that’s hard to replicate.
Instructions
- Step 1: Begin by preparing your ingredients. Crush the biscuits in a food processor until they’re finely ground. Melt the butter and mix it with the crushed biscuits until well combined. Press this mixture into the bottom of a springform pan to create the base of your cheesecake.
- Step 2: For the cheesecake filling, beat the cream cheese until it’s smooth, then add the sugar and vanilla extract, mixing until well combined. In a separate bowl, whip the heavy cream until it forms stiff peaks. Fold the whipped cream into the cream cheese mixture until no white streaks remain. Pour this mixture over the biscuit base.
- Step 3: Chill the cheesecake in the refrigerator for at least 4 hours or overnight. Once set, melt the Kinder bars in a double boiler or in the microwave in 30-second increments, stirring between each interval until smooth. Pour the melted Kinder mixture over the top of the cheesecake and refrigerate for another 30 minutes to set.
- Step 4: Finally, top the cheesecake with whipped cream and decorate with pieces of Kinder bars. Release the springform pan sides and slice the cheesecake. Serve chilled and enjoy!
Handy Tips
- Ensure all your ingredients are at room temperature before starting, especially the cream cheese, to avoid lumps in the cheesecake mixture.
- Don’t overmix the biscuit base or the cheesecake filling, as this can lead to a dense cheesecake.
- If you find that your whipped cream is too runny, refrigerate it for about 10 minutes to firm up before using.
Heat Control
Since this is a no-bake recipe, the only heat control you’ll need to worry about is melting the Kinder bars and the butter for the biscuit base. For melting the Kinder bars, it’s best to use a double boiler or the microwave. If using the microwave, be cautious not to overheat, as this can cause the chocolate to seize up or become too hard. When melting the butter, simply place it in the microwave for a few seconds until melted, being careful not to overheat it.
Crunch Factor
The crunch in this dessert comes from the biscuit base and the pieces of Kinder bars on top. To ensure your biscuit base remains crunchy, don’t overmix it with the melted butter, and press it firmly into the pan. For the Kinder bars on top, you can chop them into small pieces or slices, depending on the texture you prefer. The whipped cream adds a smooth contrast to the crunch of the biscuits and chocolate.
Pro Kitchen Tricks
- To ensure your cheesecake sets properly, make sure it’s chilled long enough. If you’re in a hurry, you can speed up the chilling process by placing the cheesecake in the freezer for about 30 minutes, then transferring it to the refrigerator until served.
- For a clean slice, dip your knife in hot water and wipe it dry before slicing the cheesecake. This will help prevent the cheesecake from cracking and give you smooth, even slices.
Storage Tips
- Store the cheesecake in the refrigerator, covered with plastic wrap or aluminum foil, for up to 3 days.
- If you want to freeze the cheesecake, it’s best to do so without the whipped cream topping. Place the cheesecake in the freezer until frozen solid, then wrap it tightly in plastic wrap or aluminum foil and store for up to 2 months. Thaw overnight in the refrigerator and top with whipped cream before serving.
Gift Packaging Ideas
If you’re looking to give the No-Bake Kinder Cheesecake as a gift, consider packaging it in a decorative tin or a sturdy cardboard box. You can wrap the cheesecake itself in plastic wrap or aluminum foil and place it in the tin or box. Add some decorative touches like ribbons around the tin or a handwritten note on top of the box. For a more personalized touch, you could also make individual mini cheesecakes in small jars or containers, perfect for a sweet treat on the go.
Flavor Variations
- Different spices: Try adding a pinch of cinnamon or nutmeg to the cheesecake mixture for a unique twist.
- Creative toppings: Instead of Kinder bars, you could use other chocolate bars, nuts, or even fruit to top your cheesecake.
- Ingredient swaps: For a lighter version, you could use low-fat cream cheese or substitute some of the sugar with honey or maple syrup.
Troubleshooting
- Texture problems: If your cheesecake turns out too dense, it might be due to overmixing the batter. If it’s too runny, it might not have been chilled long enough.
- Ingredient replacements: If you can’t find Kinder bars, you can substitute them with other chocolate-hazelnut bars or even Nutella for a similar flavor profile.
- Over/undercooking signs: Since this is a no-bake cheesecake, you won’t have to worry about overcooking. However, underchilling can lead to a cheesecake that doesn’t set properly. Always ensure it’s chilled for at least 4 hours or overnight.
FAQs
- Can I freeze it? Yes, you can freeze the cheesecake without the whipped cream topping for up to 2 months. Thaw overnight in the refrigerator and top with whipped cream before serving.
- Is it gluten-free? The cheesecake can be made gluten-free by using gluten-free biscuits for the base. However, always check the ingredients of the Kinder bars and other components to ensure they are gluten-free as well.
- Can I double the recipe? Yes, you can easily double the recipe to make a larger cheesecake. Just ensure you have a large enough springform pan and adjust the chilling time accordingly.
Conclusion
The No-Bake Kinder Cheesecake is a dessert that’s as fun to make as it is to eat. With its unique blend of textures and flavors, it’s perfect for anyone looking to impress their family and friends without spending hours in the kitchen. Feel free to experiment with different toppings and ingredient swaps to make the recipe your own. Whether you’re a seasoned baker or a beginner in the kitchen, this cheesecake is sure to become a favorite. So go ahead, give it a try, and enjoy the delightful combination of cheesecake and Kinder bars in every bite!
No-Bake Kinder Cheesecake
A no-bake cheesecake that combines the richness of cheesecake with the playful charm of Kinder bars, offering a unique dessert experience with minimal effort.
🥘 Ingredients
👩🍳 Instructions
-
1Prepare the biscuit base by mixing crushed biscuits with melted butter and pressing into a springform pan.
-
2Make the cheesecake filling by beating cream cheese, sugar, and vanilla extract, then folding in whipped heavy cream.
-
3Pour the cheesecake mixture over the biscuit base and chill until set.
-
4Melt Kinder bars and pour over the cheesecake, then chill until set. Top with whipped cream and decorate with Kinder bar pieces.
-
5Refrigerate for at least 4 hours or overnight before serving.