What makes a perfect layer cake so irresistible? This stunning dessert features rich chocolate and vibrant green frosting, made with simple ingredients like high-quality cocoa powder. For a quick and easy homemade treat that’s sure to become a family favorite, save this idea and try layering your own cakes for a beautiful weeknight dinner finale, pin for later
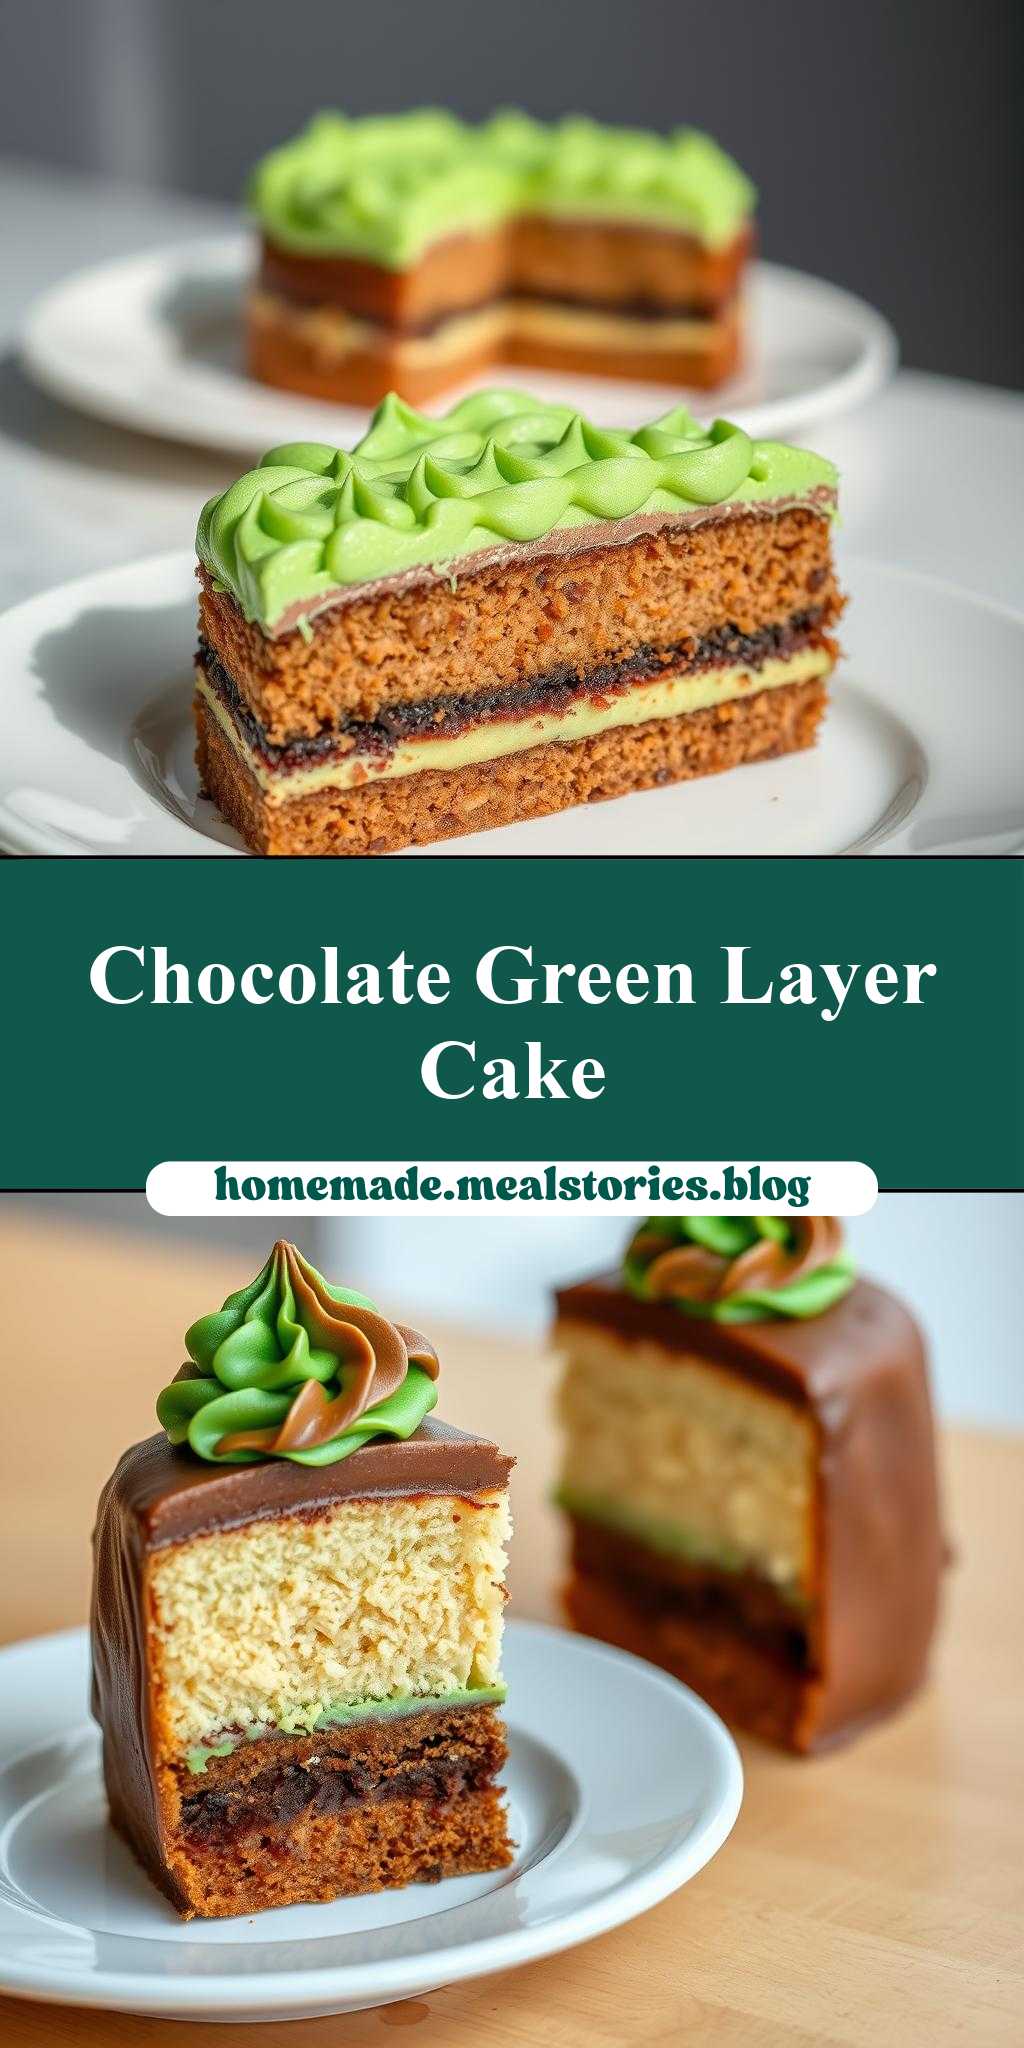
two pictures of a cake with chocolate and green frosting on it, one has the same layer as the other
Introduction
Imagine a cake that is not only visually stunning but also a masterpiece of flavors and textures, all achieved with everyday ingredients and a dash of creativity. The cake in question, adorned with rich chocolate and vibrant green frosting, is a testament to the magic that happens when simplicity meets imagination. Whether you’re a seasoned baker or a beginner, this recipe is designed to guide you through the process of creating a cake that is as impressive as it is delicious, all with minimal effort and maximum flavor.
Why This Works
- Flavor balance and ingredient accessibility: The combination of chocolate and green frosting provides a unique yet balanced flavor profile that is both familiar and exciting. The ingredients are easily accessible, making this cake a feasible project for anyone.
- Ease of preparation: Despite its impressive appearance, the cake is surprisingly easy to prepare. The steps are straightforward, and the ingredients are simple to work with, reducing the stress often associated with baking.
- Impressive results with minimal effort: The key to this recipe lies in its ability to deliver professional-looking results with minimal fuss. The layering technique and the use of contrasting frostings create a visually appealing cake that is sure to impress, without requiring extensive baking experience.
Key Ingredients
The main ingredients for this cake include all-purpose flour, granulated sugar, unsweetened cocoa powder for the chocolate flavor, eggs, milk, and butter or oil for moisture. For the frosting, you will need powdered sugar, unsalted butter, vanilla extract, and food coloring to achieve the green and chocolate colors. Practical substitutions can be made for some ingredients, such as using almond milk instead of regular milk for a non-dairy version, or substituting some of the sugar with honey for a slightly different flavor profile.
Instructions
- Step 1: Begin by preheating your oven to 350°F (175°C). Prepare two 9-inch round cake pans by greasing them and lining the bottoms with parchment paper. In a medium bowl, whisk together flour, sugar, and cocoa powder. In a large bowl, whisk together eggs, milk, and butter or oil. Combine the dry ingredients with the wet ingredients and mix until just combined.
- Step 2: Divide the batter evenly between the prepared pans and smooth the tops. Bake for about 30-35 minutes or until a toothpick inserted in the center comes out clean. Let the cakes cool in the pans for 10 minutes before transferring them to a wire rack to cool completely.
- Step 3: For the frosting, beat the butter and vanilla extract until creamy. Gradually add the powdered sugar, beating until smooth and creamy. Divide the frosting into two portions. Add a few drops of green food coloring to one portion and mix until the color is evenly distributed. For the chocolate frosting, you can either use store-bought chocolate frosting or make your own by melting chocolate and mixing it with a small amount of the powdered sugar frosting.
- Step 4: Once the cakes are completely cool, you can start assembling the cake. Place one cake layer on a serving plate and spread a layer of chocolate frosting on top. Place the second cake layer on top and frost the entire cake with the green frosting. You can decorate the cake as desired, perhaps with additional chocolate shavings or green sprinkles.
Handy Tips
- When making the frosting, ensure that the butter is at room temperature for the best results. If you find that your frosting is too thin, you can refrigerate it for about 10 minutes to firm it up before using.
- Avoid overmixing the cake batter, as this can result in a dense cake. Stop mixing as soon as the ingredients are combined.
- For a moist cake, don’t overbake. Check the cake frequently towards the end of the baking time, and remove it from the oven as soon as it’s done.
Heat Control
Heat control is crucial when baking the cake. The ideal temperature is 350°F (175°C), and the cakes should be baked for about 30-35 minutes. To check for doneness, insert a toothpick into the center of each cake. If the toothpick comes out clean, the cakes are done. If not, bake for a few more minutes and check again.
Crunch Factor
The desired texture for this cake is moist and tender, with a smooth frosting. To achieve this, ensure that you don’t overbake the cake and that you use room temperature ingredients when making the frosting. For an added crunch, you could sprinkle some chopped nuts or chocolate shavings on top of the cake before the frosting sets.
Pro Kitchen Tricks
- To ensure that your cakes bake evenly, rotate the pans halfway through the baking time.
- For a professional finish, chill the frosted cake in the refrigerator for about 30 minutes before serving. This will help set the frosting and make the cake easier to slice.
- Consider using a turntable to display your cake, especially if you’re planning to serve it at a gathering. This will make it easier for guests to admire your handiwork from all angles.
Storage Tips
- The cake can be stored at room temperature for up to 3 days. If you won’t be serving it within this timeframe, consider freezing it. Wrap the cake tightly in plastic wrap or aluminum foil and place it in a freezer-safe bag. Frozen cake can be stored for up to 2 months.
- To thaw a frozen cake, place it in the refrigerator overnight. Once thawed, let it sit at room temperature for a few hours before serving.
- Leftover cake can be refrigerated for up to 5 days. It’s best to store it in an airtight container to keep it fresh.
Gift Packaging Ideas
This cake makes a wonderful gift, especially for birthdays or holidays. Consider packaging it in a decorative cake box or wrapping it in colorful cellophane. You could also add a personal touch with a handwritten note or a small gift on top of the cake. If you’re giving the cake as a gift, it might be helpful to include a card with storage and serving instructions to ensure the recipient enjoys it at its best.
Flavor Variations
- Different spices: You could add a pinch of salt or a teaspoon of espresso powder to the cake batter for added depth of flavor.
- Creative toppings: Instead of using traditional chocolate shavings or sprinkles, consider topping your cake with fresh fruits, nuts, or even candy pieces.
- Ingredient swaps: For a gluten-free version, you could substitute the all-purpose flour with a gluten-free flour blend. Similarly, you could use dairy-free milk and vegan butter to make the cake suitable for those with dietary restrictions.
Troubleshooting
- Texture problems: If your cake turns out too dense, it might be due to overmixing the batter. If it’s too dry, it could be because it was overbaked.
- Ingredient replacements: If you’re missing an ingredient, consider what you can substitute it with. For example, if you don’t have buttermilk, you can make a substitute by mixing milk with a tablespoon of white vinegar or lemon juice.
- Over/undercooking signs: Keep an eye on your cake while it’s baking. If the edges start to pull away from the pan or the top starts to crack, it might be done. Insert a toothpick to confirm.
FAQs
- Can I freeze it? Yes, the cake can be frozen for up to 2 months. Wrap it tightly and place it in a freezer-safe bag.
- Is it gluten-free? The original recipe includes gluten, but you can make a gluten-free version by substituting the flour with a gluten-free blend.
- Can I double the recipe? Yes, you can double the recipe to make a larger cake. Just ensure that you have enough pans and adjust the baking time accordingly.
Conclusion
Creating a cake with chocolate and green frosting, where one has the same layer as the other, is a fun and rewarding baking project. With its unique flavor combination and visually appealing design, this cake is perfect for special occasions or simply as a treat to brighten up your day. Don’t be afraid to experiment with different flavors and decorations to make the cake your own. Whether you’re a seasoned baker or just starting out, this recipe is a great way to explore your creativity in the kitchen and enjoy the process of creating something delicious and beautiful.
two pictures of a cake with chocolate and green frosting on it, one has the same layer as the other
A moist and flavorful cake with chocolate and green frosting, perfect for special occasions or everyday treats.
🥘 Ingredients
👩🍳 Instructions
-
1Preheat oven to 350°F (175°C). Prepare two 9-inch round cake pans.
-
2Mix dry ingredients (flour, sugar, cocoa powder) in one bowl and wet ingredients (eggs, milk, butter or oil) in another. Combine the two mixtures and stir until just combined.
-
3Divide the batter evenly between the prepared pans and smooth the tops. Bake for 30-35 minutes or until a toothpick inserted in the center comes out clean.
-
4Make the frosting by beating butter and vanilla extract, then gradually adding powdered sugar. Divide the frosting and color one portion green and the other chocolate. Assemble the cake by placing one layer on a serving plate, spreading a layer of chocolate frosting on top, then placing the second layer on top and frosting the entire cake with the green frosting.